Tutorial 3
During this tutorial I learned how to define where the npcs/ai characters can traverse by using navmesh. Other than the fact that i had the wrong settings (show navmesh was unticked) set up in my unity so I couldn't see whether the navmesh was working after being baked or not, it was quite intuitive to use.
How did it work:
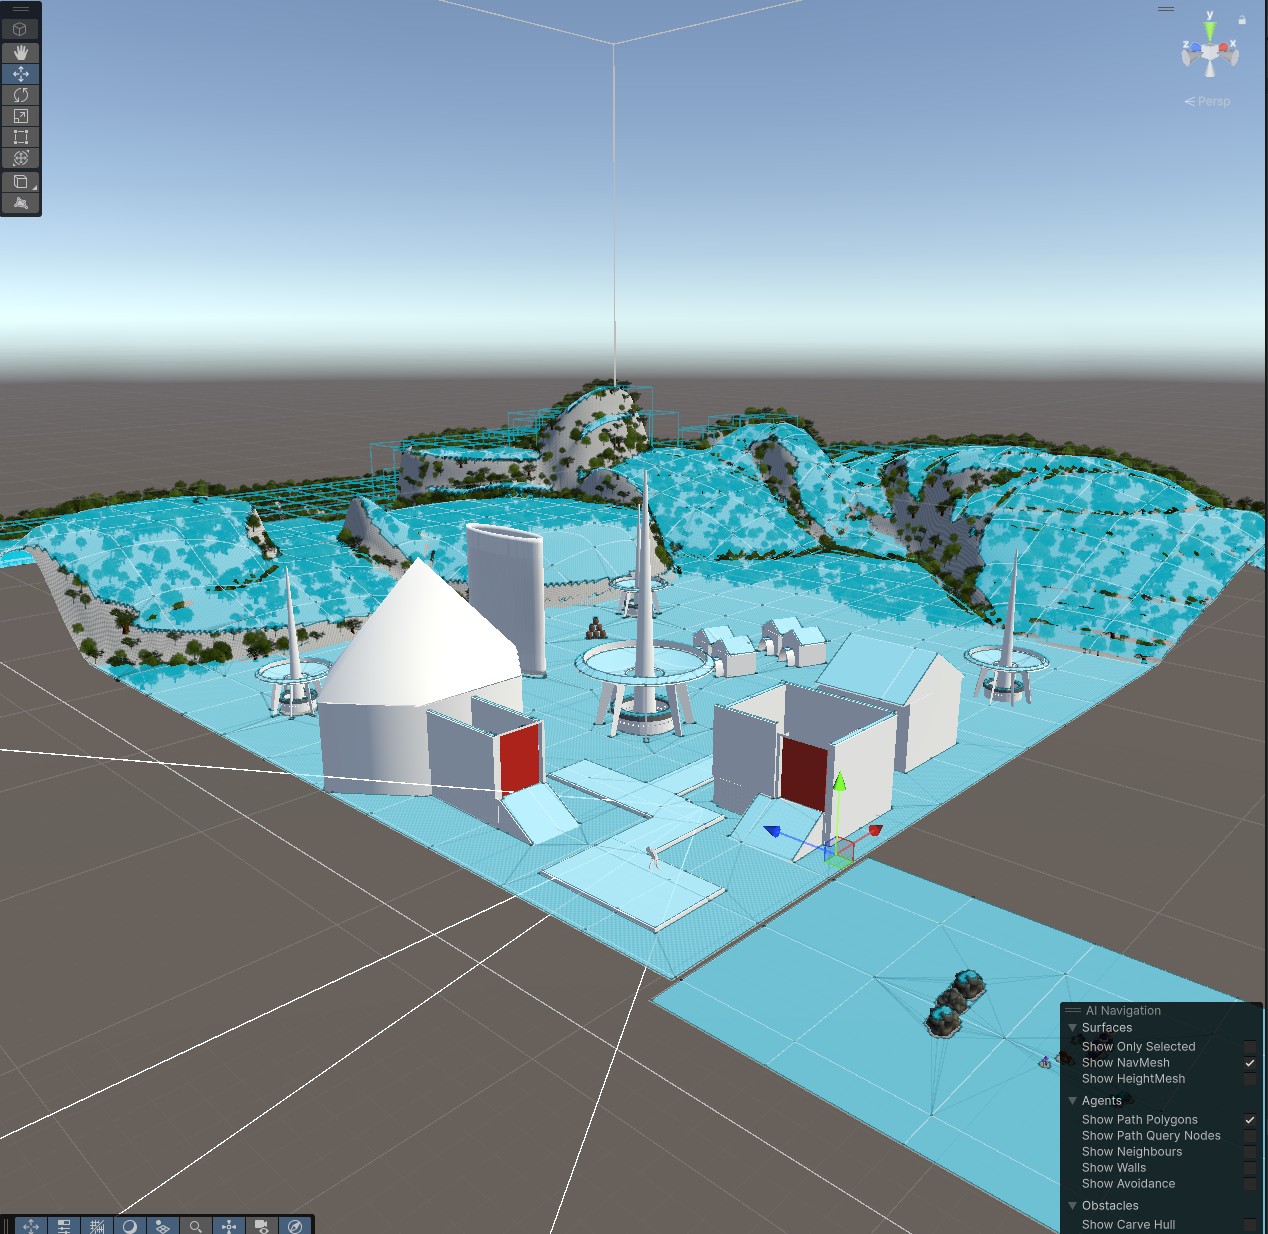
The way that the navmesh worked was by adding a navmesh game object to the scene, once baked the program is able to detect what objects/surfaces are walkable, non-walkable or jumpable. This can also be modified in the inspector. Shown below is the navesh after being baked (Blue area is where the ai can walk.)

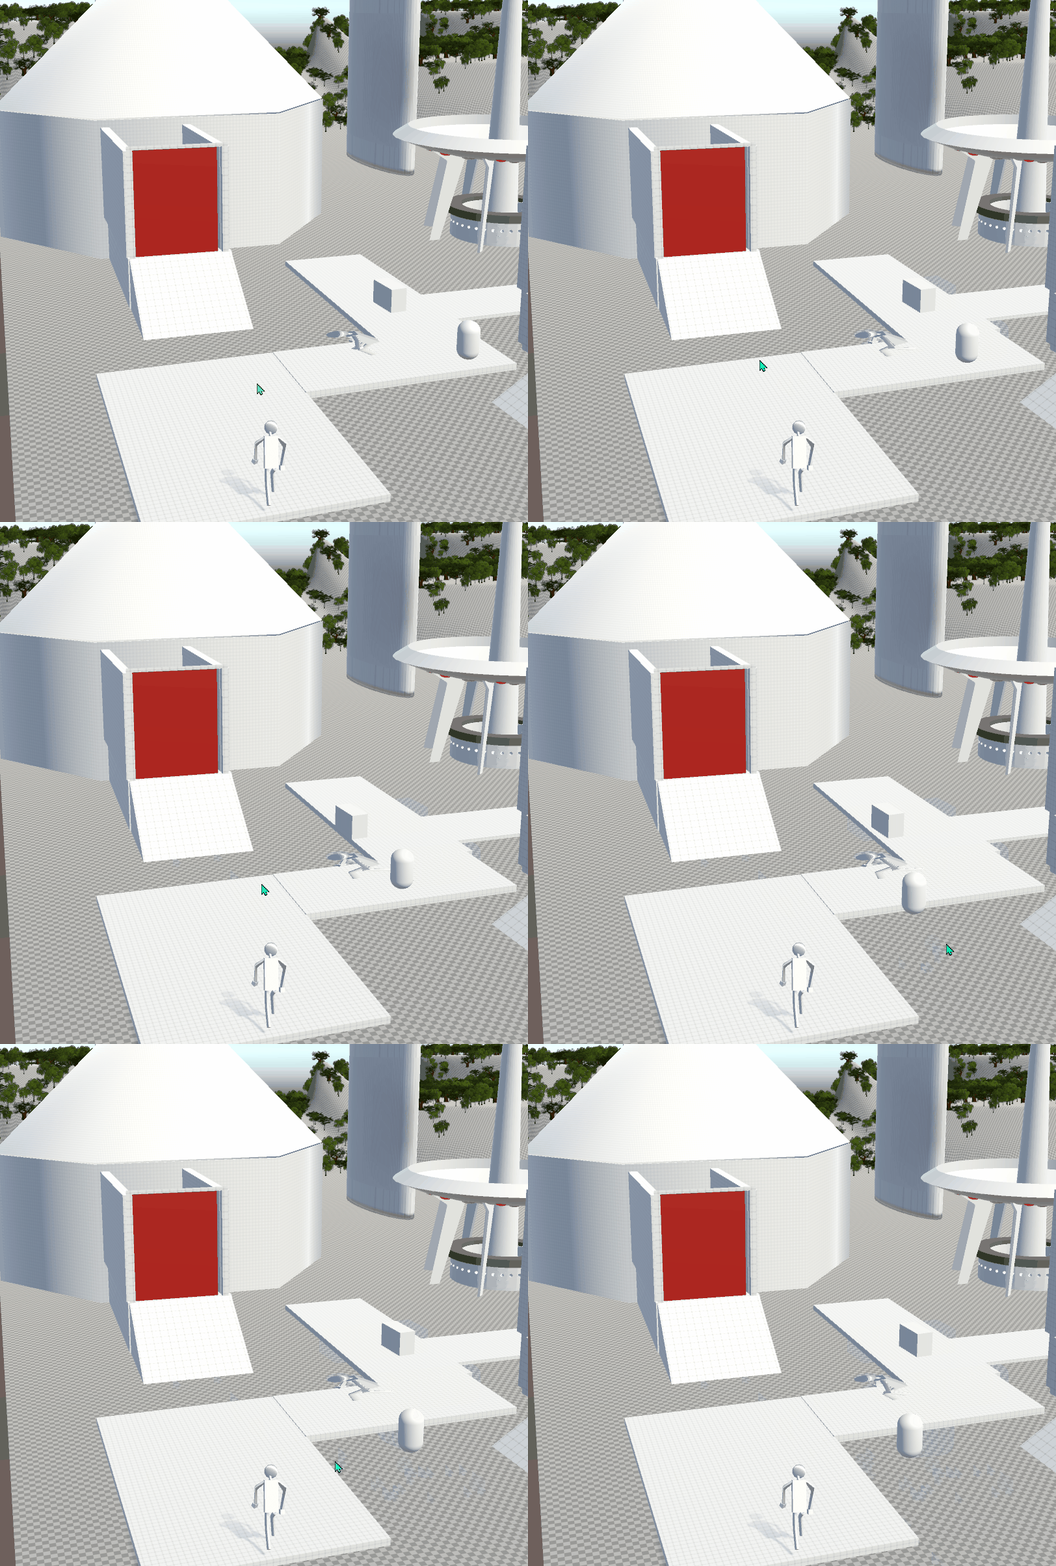
After playing around with different navmesh setting and components I went on to a bit of raycasting, first creating a script where an AI object will move to the point where the user has clicked on the screen. Along with this, I also made a moving obstacle with the navmesh obstacle component and a script which makes it move from side to side. (as shown below)

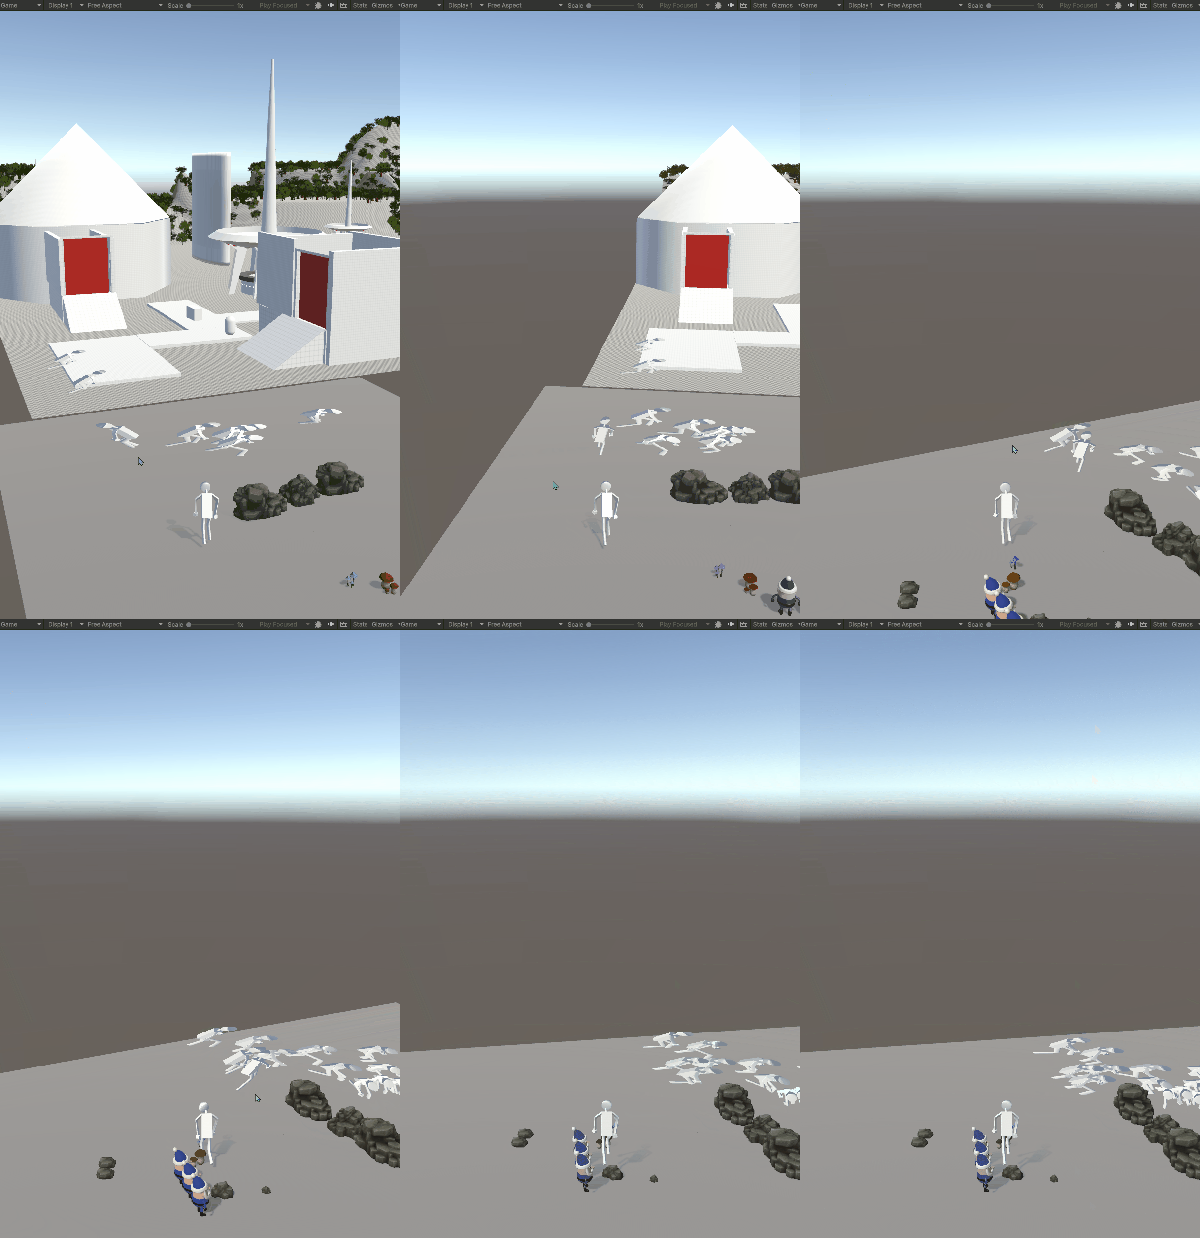
Then I proceded to modify the raycasting script to spawn an AI character when clicked, this AI then followed the characters position as opposed to just where the mouse was clicked.

The above Gif shows the user clicking multiple spots on the map where the AIs then are instantiated. I reused the player character and walking animation but they move sideways and are squished down to be told apart from the player.

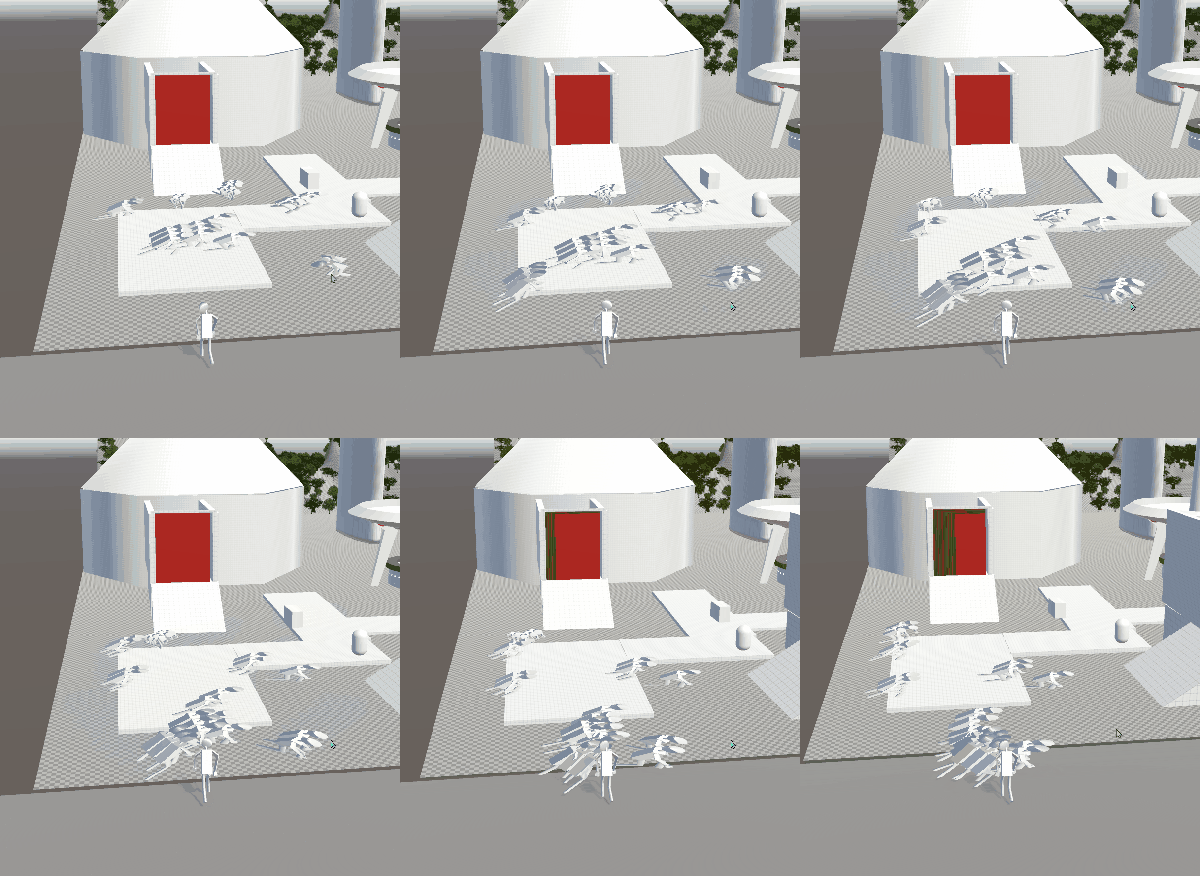
The above gif shows the AIs following the player from multiple different positions.
Get KIT207 Portfolio
KIT207 Portfolio
Things done after being told to do them from KIT207
| Status | Released |
| Author | FabianLampasona |
More posts
- Self Study 5Mar 31, 2025
- Self Study 4 pt 2 Game IdeasMar 24, 2025
- Self Study 4 pt.1Mar 24, 2025
- Self study 3Mar 17, 2025
- Tutorial 2Mar 14, 2025
- Self Study 2Mar 10, 2025
- Tutorial 1 devlogMar 10, 2025
- Self Study 1Feb 26, 2025
Leave a comment
Log in with itch.io to leave a comment.